For the last three posts I have been talking about the graphic design major I am thinking of taking at college. I also gave you some examples of what I have done for the church Facebook page by making verse posts. Well, as you know, I am home-schooled, and when I get free-time during classes, sometimes I will mess around with the Photoshop program I use (Adobe Photoshop 5.5). I was eating lunch with August one day, and we started to talk about the Photoshop. He wanted me to do a mash-up photo; the idea he had was to have someone from medieval times with a sword fighting someone from Star Wars with a lightsaber. I never did actually do that, now that I think about it, but I started to try to find a way to do something similar. Eventually, this is what I came up with.
You will need to click the image to see the details well.
 |
| Click to enlarge to see details in this mash-up photo I made. |
I struggled at first to figure out how to fit images from wildly different games and movies into one image. However, as I was looking up information on Google about
Adobe Photoshop, I figured out how to use a tool called the magic wand.
"The Magic Wand selects pixels based on tone and color." (Google Search) Thus, if I was to click on, say, the red part of the dragon from the picture above, it would select all of the touching red pixels in a range of 32 in tone and color. This tool made it possible to select certain objects out of a background without having to take the rest of the background with it. For instance, this:
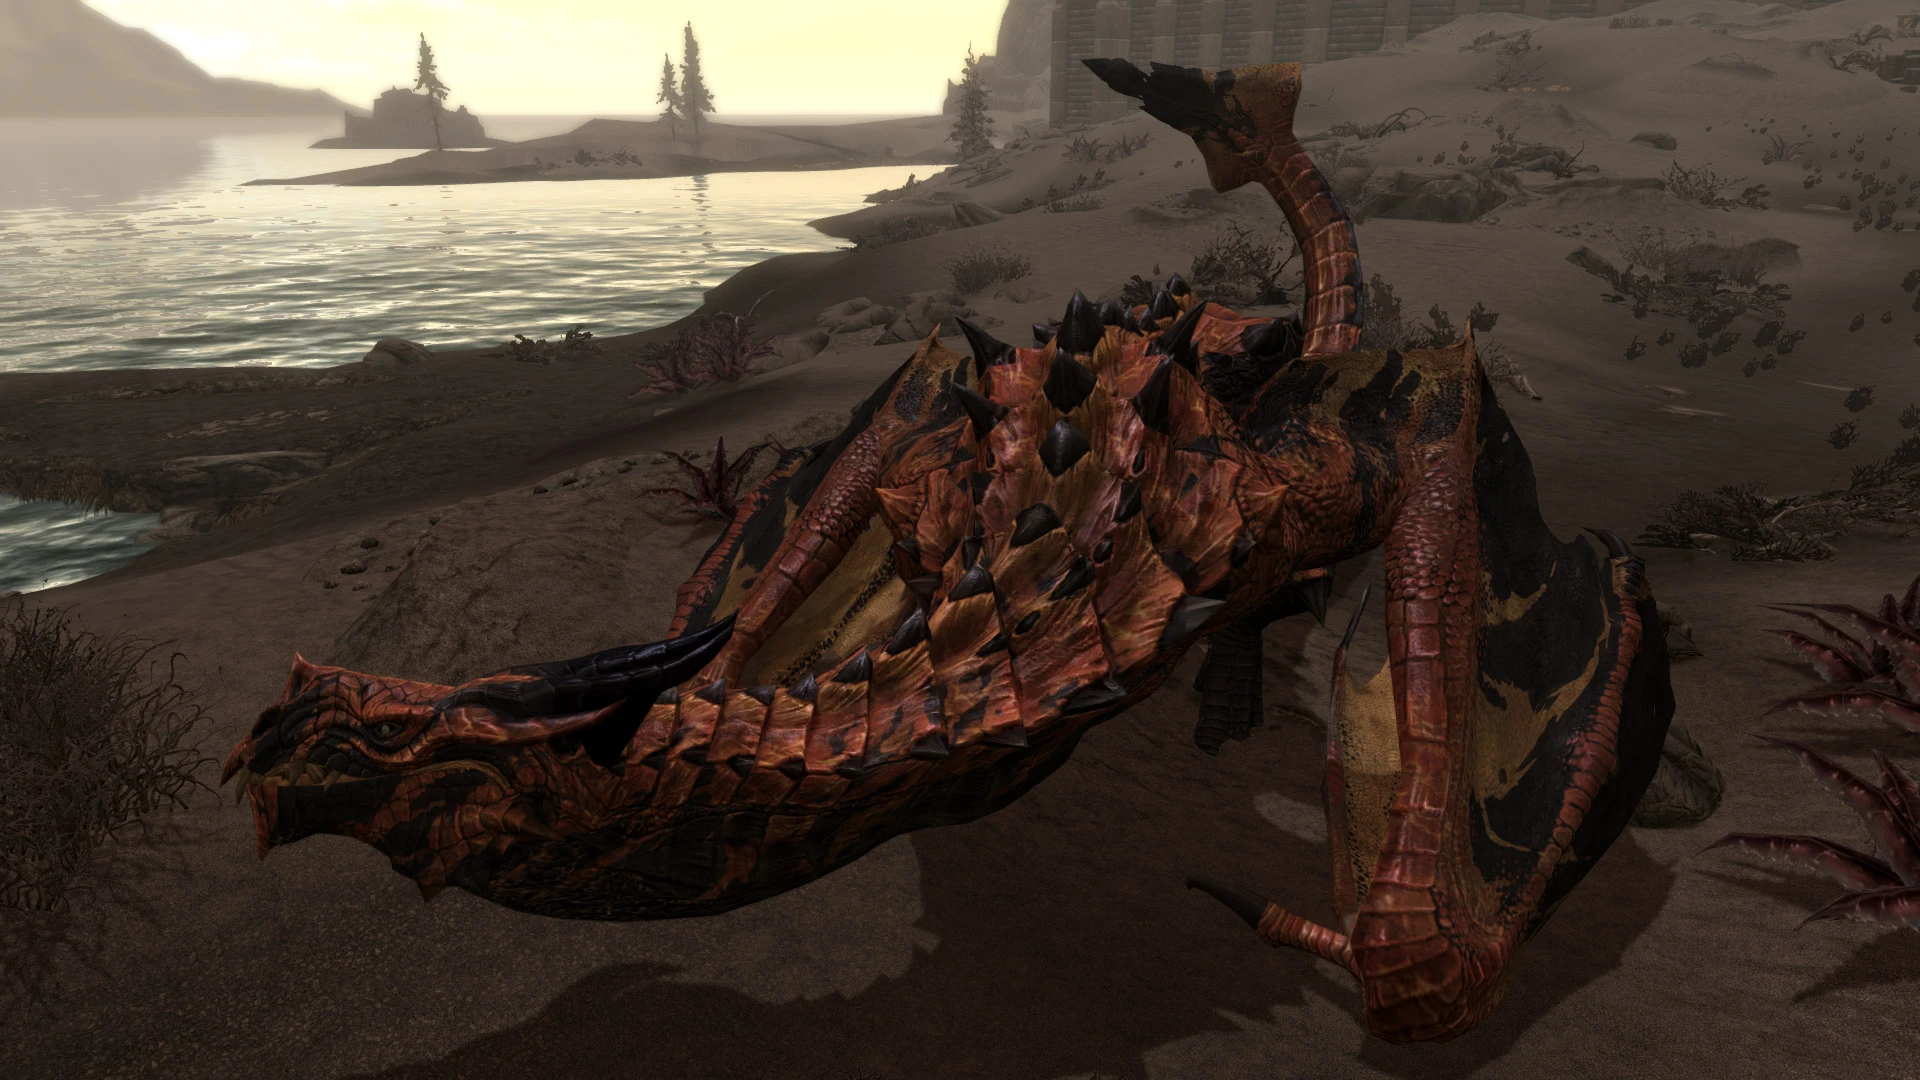 |
| Click to enlarge. |
after a little magic wand work became this:
 |
| Click to enlarge. |
I deleted the background, turned the image horizontally, and voila! This dragon (or wyvern if you are picky) was ready to be used. The rest of the pieces I used in my mash-up were from various images, and I did not keep them all. I also could not find them again when I went back to look, but here they are some of them:
 |
| Click to enlarge. The background to the entire image; I removed the way-point indicator at the top. |
 |
Click to enlarge. An At-at from Star Wars, it had a black background and
was thus easy to select with the magic wand. |
 |
Click to enlarge. Just a picture that had green laser shots. In my mash-up I needed the
millennium falcon to be firing laser shots, so I just chose
a picture and took lasers from it. |
 |
| Click to enlarge. What the laser looked like when I was ready to insert it. |
 |
Click to enlarge. When I first started working on the mash-up, Han Solo was shooting at someone.
I like Han Solo, and still wanted him in the picture, so he was added in the back. |
 |
Click to enlarge. This is the original for the poor dragon trying to escape the Millennium Falcon
(the ship in the background of my mash-up). |
So that is what it takes for me to make a crazy mash-up photo. It took a few hours at least, and that over the course of multiple school classes in multiple days, but I enjoyed it. Making this photo also led to me learning how to use this software better, which is needed to make better photos in the future. Just thought I would share with you a crazy creation I came up with in my spare time.
If you have any ideas for mash-up photos you want to see me make, comment them below or on Facebook.


Lots of work, but a great result! This is exactly how I learned to program....playing and practicing. You're doing great, keep it up!!
ReplyDeleteThanks Daddo <3
DeleteOk, well, you said we could request a mash-up picture. So here's my request: a meadow with horses, but one of the horses has to be from "My Little Pony". Also, include a boxer dog somewhere in the pic and a palm tree, too! Ha! Have fun! :) Are you going to post my requested pic on this blog?
ReplyDeleteSure! Whenever I finish the mash-up photo, I will make a special blogpost just for it! I look forward to trying to make this crazy picture for you :-)
Delete